
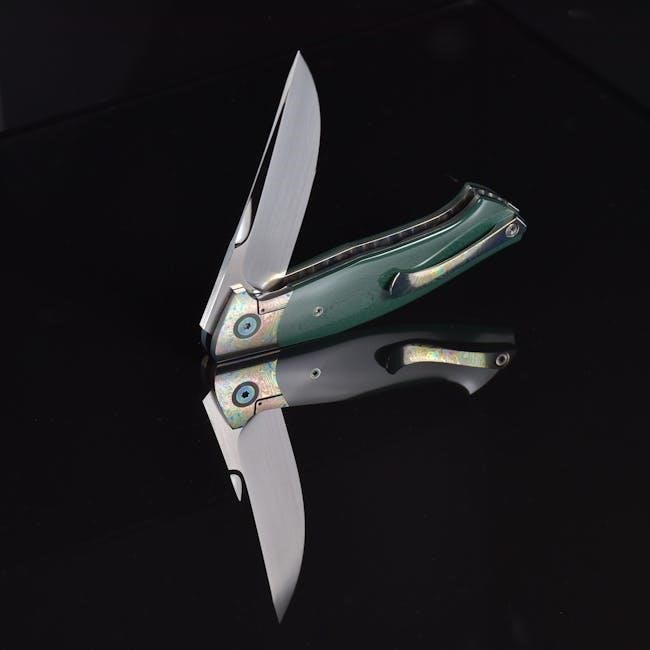
diy knife sharpening angle guide
Maintaining a sharp knife is crucial, yet achieving the correct sharpening angle can be challenging without assistance.
DIY angle guides offer a cost-effective solution for consistent, professional results,
empowering both novice and experienced users to revitalize their blades effectively.
These guides, often crafted from readily available materials, simplify the process,
ensuring optimal sharpness and longevity for your valuable cutlery.
Why Use an Angle Guide?
Sharpening a knife freehand demands significant skill and practice to consistently maintain the correct blade angle.
Without a guide, achieving this precision is difficult, leading to inconsistent sharpness and potentially damaging the blade.
DIY angle guides address this challenge by providing a reliable reference point during the sharpening process.
These guides ensure that the blade is held at the optimal angle relative to the sharpening stone,
promoting even material removal and a consistently sharp edge.
They are particularly beneficial for beginners who are still developing their technique,
but even experienced sharpeners can benefit from the increased accuracy and efficiency they offer.
Ultimately, using an angle guide translates to sharper knives, safer handling, and extended blade life.
The Importance of Consistent Angles
Maintaining a consistent angle throughout the sharpening process is paramount for achieving a truly sharp and durable edge.
Variations in angle create an uneven bevel, resulting in a weak edge that dulls quickly and is prone to chipping.
A consistent angle ensures that the entire cutting surface is sharpened uniformly, maximizing its effectiveness.
The correct angle also dictates the edge geometry, influencing the knife’s intended purpose.
A steeper angle creates a more robust edge suitable for heavy-duty tasks, while a shallower angle produces a finer, sharper edge ideal for precision cutting.
DIY angle guides help replicate this consistency, leading to predictable and reliable results every time you sharpen.
Common Knife Blade Angles
Generally, most kitchen knives benefit from a 20-degree inclusive angle – meaning 10 degrees on each side of the blade.
This provides a good balance between sharpness and durability for everyday tasks. Japanese knives often utilize a steeper 15-degree angle for exceptional sharpness, but require more careful handling.
Pocket knives and tougher blades typically employ a 25-30 degree angle, prioritizing edge retention over extreme sharpness.
Understanding these common angles is crucial when using a DIY angle guide, as selecting the appropriate angle ensures the knife performs optimally for its intended purpose.
Consistency within these ranges is key to a successful sharpening outcome.
Types of DIY Angle Guides
Numerous resourceful methods exist for creating DIY knife sharpening angle guides, ranging from simple cardboard setups to more elaborate wooden jigs,
offering accessible solutions for achieving precise sharpening angles.
The Cardboard/Paper Guide Method
This remarkably simple technique utilizes readily available materials – cardboard or thick paper – to establish a consistent sharpening angle. Begin by cutting a strip of cardboard and folding it to create a wedge shape,
determining the desired angle based on your knife’s blade type.
Position the cardboard wedge on your sharpening stone, creating a guide for the knife’s edge.
As you draw the knife across the stone, the cardboard maintains the correct angle, promoting even sharpening.
This method is exceptionally beginner-friendly and requires minimal investment, making it an ideal starting point for DIY sharpening.
Experiment with different cardboard thicknesses and fold angles to fine-tune the guide to your specific needs, ensuring optimal results.
The Marker and Stone Method
A clever and visually intuitive approach, the marker and stone method employs a permanent marker to create a sharpening guide directly on the stone. Begin by coloring a section of the sharpening stone with the marker, establishing the area where the knife’s edge will contact the stone.
Then, draw the knife across the stone at the desired angle, observing where the marker is removed. The area of marker removal indicates the precise angle being used. Adjust your technique until consistent marker removal is achieved, signifying a consistent sharpening angle.
This method provides immediate feedback, allowing for quick adjustments and improved accuracy during the sharpening process;
Using Coins as Angle Guides
For a remarkably simple and accessible DIY solution, common coins can serve as surprisingly effective angle guides. The thickness of a coin provides a consistent wedge, establishing a specific angle between the knife blade and the sharpening stone.
Place the coin flat on the stone and rest the knife blade against it during sharpening. Different denominations of coins offer varying thicknesses, allowing for adjustments to the sharpening angle.
This method is particularly useful for achieving common angles like 20 degrees (using a nickel or dime) and is a great starting point for beginners learning to maintain a consistent edge.
The Homemade Jig with Wood Scraps
Constructing a jig from wood scraps offers a more robust and customizable DIY angle guide. This involves creating a frame that securely holds the knife blade at a predetermined angle relative to the sharpening stone.
Begin by cutting two pieces of wood to form an angled cradle, ensuring the angle matches your desired blade bevel. These pieces are then attached to a base, creating a stable platform.
The knife blade rests within the cradle during sharpening, maintaining consistent contact with the stone. This method provides greater control and precision compared to freehand sharpening or simpler guides.
Building a Simple Wooden Angle Guide
Crafting a wooden guide is a straightforward project, requiring minimal tools and materials. It provides a stable platform for consistent sharpening,
enhancing blade performance and extending its lifespan.
Materials Needed for a Wooden Guide
To begin constructing your wooden knife sharpening angle guide, you’ll require a few essential materials readily available at most hardware stores or even from scrap wood piles. First, select a piece of wood – pine, poplar, or even a hardwood like maple will work well, approximately 6-8 inches in length, 2-3 inches in width, and at least ¾ inch thick.
You’ll also need a saw (hand saw or power saw), a wood file or sandpaper (various grits are helpful), a protractor or angle finder, a pencil for marking, wood glue (optional, for added stability), and clamps if using glue. Safety glasses are crucial for eye protection during cutting and sanding. Finally, consider adding a non-slip material like rubber feet or cork to the base for increased stability during sharpening.
Cutting the Wood to the Correct Angle
Determining the correct angle is paramount for effective sharpening. Most kitchen knives benefit from a 20-degree angle, while tougher blades may require 25-30 degrees. Using a protractor, carefully mark the desired angle on your wood piece. A miter saw is ideal for precise angled cuts, ensuring a clean and consistent slope.
If using a hand saw, secure the wood firmly and slowly follow your marked line. After cutting, use a wood file or sandpaper to refine the angle, smoothing any rough edges and ensuring accuracy. Regularly check the angle with your protractor throughout the process to maintain consistency. Precision at this stage is key to a successful guide.
Securing the Knife During Sharpening
Stability is crucial when sharpening. The wooden guide should firmly hold the knife blade at the pre-determined angle. Consider adding rubber grips or non-slip pads to the base of the guide to prevent movement on your work surface. A clamp or vise can further secure the guide itself, ensuring it doesn’t shift during use.
For added safety and precision, you can incorporate a knife holder within the guide’s design. This could be a simple groove or a more elaborate clamping mechanism. The goal is to maintain consistent pressure and prevent the blade from slipping, leading to a more even and controlled sharpening process.
Advanced DIY Angle Guide Designs
Beyond basic wooden guides, designs utilizing PVC pipe or adjustable mechanisms offer increased robustness and versatility.
These advanced builds allow for customized angles and enhanced stability during sharpening.
Using PVC Pipe for a Robust Guide
PVC pipe presents a durable and affordable material for constructing a reliable knife sharpening guide. Its rigidity provides excellent stability, minimizing unwanted movement during the sharpening process. A basic design involves cutting a section of PVC pipe lengthwise, creating a channel to hold the sharpening stone securely.
The knife blade then rests against the PVC, guided by the angle created within the channel. Experimentation with different pipe diameters and cutting angles allows for customization to suit various blade geometries. Adding rubber grips or foam padding to the PVC enhances both comfort and prevents slippage, ensuring a safe and controlled sharpening experience. This method offers a significant upgrade in stability compared to simpler cardboard or paper guides.
Creating a Guide with Adjustable Angles
For versatility, a DIY angle guide can be designed with adjustable features. This typically involves a base plate with a sliding mechanism to alter the angle of the sharpening surface. Utilizing threaded rods and wingnuts allows for precise angle adjustments, securing the desired position firmly.
Wooden blocks or metal brackets can serve as the adjustable components, offering a range of angles to accommodate different knife types. Calibration markings are essential for repeatability, ensuring consistent sharpening results each time. Such a guide eliminates the need for multiple fixed-angle jigs, providing a comprehensive solution for sharpening a diverse collection of blades efficiently.
Incorporating Rubber Grips for Stability
To prevent slippage during sharpening, integrating rubber grips into your DIY angle guide is highly beneficial. Applying rubber sheeting or adhesive-backed foam pads to the base and knife-holding surfaces creates friction, ensuring a secure and stable platform.
This is particularly important when working with smooth stones or knives with polished handles. Rubber feet on the base prevent the guide from sliding across the workbench, while grips on the knife holder maintain a firm hold on the blade. These simple additions significantly enhance safety and precision, leading to more consistent and controlled sharpening results.

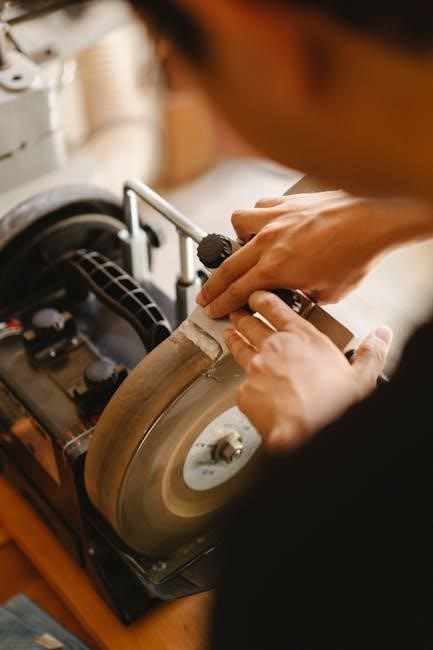
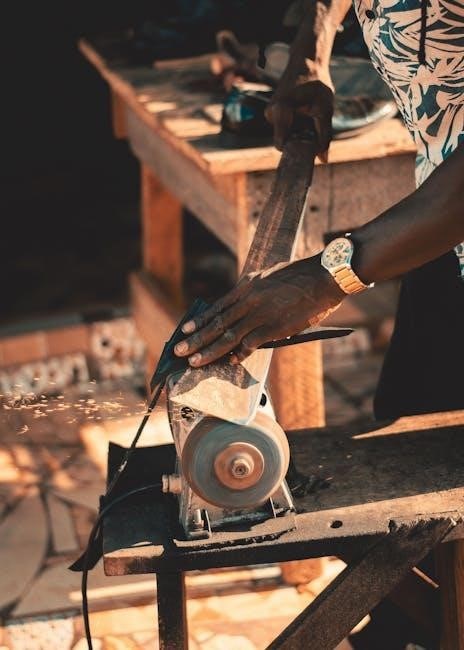
Sharpening Stones and Their Grit
Selecting the appropriate sharpening stone and understanding grit levels are vital for effective knife sharpening.
Different grits address varying degrees of dullness,
from coarse for repair to fine for polishing.
Understanding Grit Numbers
Grit numbers indicate the abrasive quality of a sharpening stone, directly impacting the speed and finish of the sharpening process. Lower grit numbers, such as 120-400, are coarse and remove material quickly, ideal for repairing damaged blades or establishing a new edge. Medium grits, ranging from 600-1000, refine the edge created by coarser stones, preparing it for finer polishing.
Higher grit numbers, typically 3000-8000 and beyond, are used for polishing and achieving a razor-sharp edge. These finer stones remove minimal material, creating a smooth, refined surface. Japanese water stones often feature exceptionally high grit levels for unparalleled sharpness. Understanding this progression allows for a systematic approach to sharpening, restoring and maintaining optimal blade performance.
Choosing the Right Stone for Your Knife
Selecting the appropriate sharpening stone depends on your knife’s steel hardness and the desired sharpness level. Softer steels benefit from softer stones, while harder steels require more abrasive options. For general purpose sharpening, a combination stone with medium and fine grits is a versatile choice. Japanese water stones are renowned for their ability to produce incredibly sharp edges, but require soaking before use.
Consider the knife’s intended use; a work knife needs a durable edge from coarser grits, while a fillet knife benefits from the refined polish of higher grits. Premium kits, like Blade Revival’s, often include large, thick water stones for efficient sharpening.
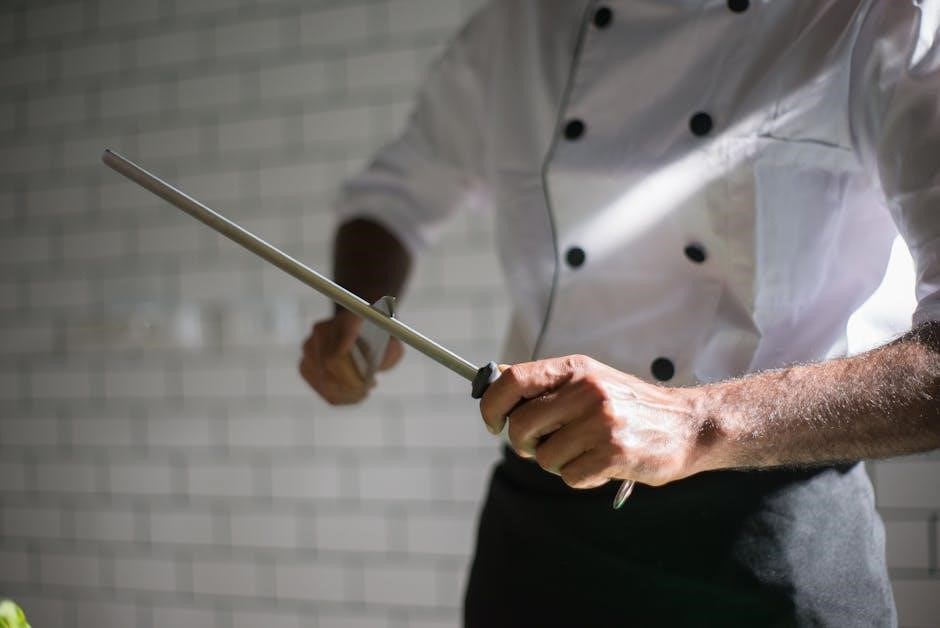
Oil Stones vs. Water Stones
The primary difference between oil and water stones lies in the lubricant used during sharpening. Oil stones, as the name suggests, require oil to prevent clogging and provide a smoother cut. They are generally less abrasive and slower cutting than water stones. Water stones, conversely, utilize water for lubrication, creating a slurry that aids in material removal.
Water stones typically cut faster and achieve a finer polish, making them popular among enthusiasts. However, they require more frequent flattening due to their softer composition. Premium Japanese water stones, like those from Blade Revival, are known for their quality and performance, offering a superior sharpening experience.

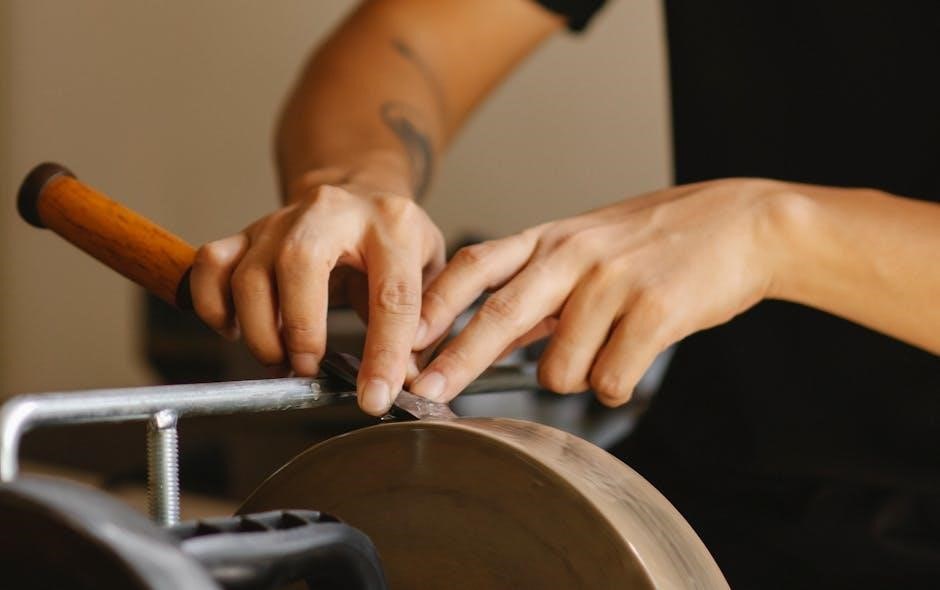
Sharpening Techniques with an Angle Guide
Employing an angle guide ensures consistent blade contact, requiring steady pressure and controlled movements. The push and pull method, applied to both sides,
achieves a refined, sharp edge.
Maintaining Consistent Pressure
Achieving a uniformly sharp edge relies heavily on applying consistent pressure throughout the sharpening process. Varying pressure can lead to uneven wear on the blade, resulting in a dull or inconsistent edge. When utilizing a DIY angle guide, focus on maintaining a steady, moderate force as you draw the knife across the sharpening stone.
Avoid pressing down too hard, as this can damage the blade or the guide itself. Instead, let the weight of the knife and the angle guide do most of the work. Think of it as gliding the blade along the stone, rather than forcing it. Regular, even strokes are far more effective than sporadic, forceful ones. This technique ensures that material is removed at a consistent rate, leading to a polished and reliably sharp cutting edge.
The Push and Pull Method
When employing a DIY knife sharpening angle guide, the “push and pull” method is a fundamental technique for achieving a sharp edge. Begin by establishing the correct angle with your guide, then apply gentle pressure as you push the blade away from your body across the sharpening stone.
Follow this with a controlled pull towards yourself, maintaining the consistent angle throughout the stroke. Alternate between push and pull strokes, ensuring you sharpen both sides of the blade evenly. This bilateral approach prevents the formation of a burr on only one side, which would compromise sharpness. Repeat this process, gradually refining the edge until desired sharpness is attained.
Sharpening Both Sides of the Blade
Achieving a truly sharp and durable edge necessitates sharpening both sides of the knife blade equally. Neglecting one side leads to an uneven edge, reduced cutting performance, and potential blade weakness. When using a DIY angle guide, alternate sharpening strokes – one for each side – maintaining consistent pressure and angle.
Typically, begin with five to ten strokes per side, then assess the progress. Continue alternating, reducing the number of strokes as the edge refines. This balanced approach ensures symmetrical sharpening, creating a robust and effective cutting edge. Regularly check for a burr, indicating sharpening progress on both sides.
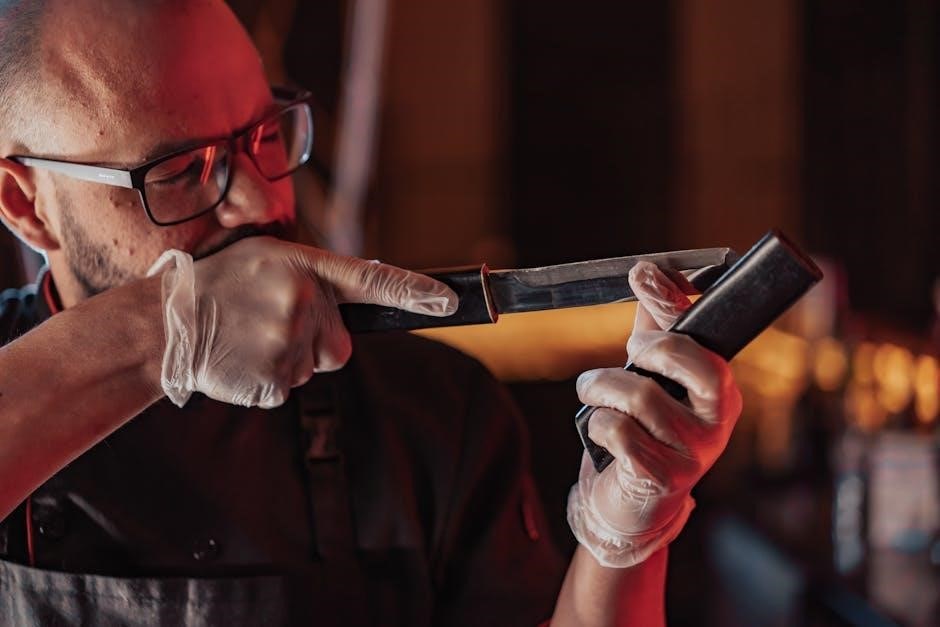
Testing Sharpness After Sharpening
Verify your sharpening success using simple tests like the paper test or the tomato test. Inspecting the edge with a magnifying glass reveals its refinement and symmetry.
These methods confirm a keen, functional edge, ensuring your knife is ready for its intended purpose.
The Paper Test
The paper test is a quick and universally accessible method for evaluating knife sharpness. Take a standard sheet of printer paper and attempt to slice cleanly through it with a single, smooth stroke. A truly sharp knife will glide through the paper, leaving a clean, unbroken cut without tearing or requiring repeated motions.
If the knife struggles to penetrate the paper, or leaves a ragged, torn edge, it indicates that the blade is not yet sufficiently sharp. This test assesses the initial bite of the edge, revealing whether the apex is refined enough for effective cutting. Repeat the test in multiple locations along the blade to ensure consistent sharpness.
Remember, a sharp knife is a safe knife, as it requires less force to operate, reducing the risk of slipping and injury.
The Tomato Test
The tomato test provides a practical assessment of a knife’s slicing ability, going beyond the simple cut of paper. Select a ripe, but firm, tomato and attempt to slice through the skin without applying significant pressure. A properly sharpened knife will effortlessly pierce the skin and glide through the flesh, creating clean, even slices.
If the knife requires sawing or crushing motions, or if it tears the tomato instead of slicing, it indicates a dull blade. This test reveals how well the knife maintains its edge under a slightly more demanding task. Observe the smoothness of the cut – a sharp knife will leave minimal resistance.
This test is a great indicator of real-world performance.
Using a Magnifying Glass to Inspect the Edge
A magnifying glass offers a detailed view of the knife’s edge, revealing imperfections invisible to the naked eye. Examine the edge for burrs – tiny, raised pieces of metal – which indicate incomplete sharpening. Look for consistent angles along the entire blade length; inconsistencies suggest uneven sharpening.
Inspect for micro-chips or rolled-over sections, signs of damage or improper technique. A well-sharpened edge should appear as a clean, consistent line, reflecting light evenly. The magnification allows you to assess the fineness of the polish achieved during sharpening.
This visual inspection confirms the quality of your work.
Troubleshooting Common Issues
Even with guides, issues arise. A dull knife post-sharpening, scratch marks, or guide slippage are common. Addressing these requires technique adjustments and careful inspection.
Persistent problems may indicate stone issues or the need for a different sharpening approach.
Knife Still Feels Dull
If your knife remains dull after sharpening with a DIY angle guide, several factors could be at play. First, ensure you’re applying consistent pressure throughout the sharpening process; uneven pressure leads to an inconsistent edge.
Secondly, verify you’ve progressed through the grit levels correctly, starting with a coarser grit to establish the bevel and finishing with a finer grit for polishing. Skipping grits or using an inappropriate grit can hinder sharpness.
Also, examine the angle itself – are you truly maintaining the correct angle throughout each pass? A slight deviation can significantly impact the final result. Finally, consider the steel type; harder steels require more effort and potentially different sharpening techniques.
Scratch Marks on the Blade
The appearance of scratch marks on your knife blade during sharpening with a DIY guide usually indicates an issue with the sharpening stone or technique. Often, it’s caused by using a stone with a grit that’s too coarse for the steel type or the stage of sharpening.
Ensure your stone is clean and free of debris, as embedded particles can cause scratches. Also, verify you’re using sufficient lubrication – whether oil or water – to prevent friction and metal removal.
Applying too much pressure can also contribute to scratching. A lighter, more controlled approach is generally preferable. Finally, inspect your guide for any imperfections that might be causing uneven contact.
Guide Slipping During Sharpening
A common frustration when using DIY knife sharpening angle guides is slippage, which compromises accuracy and consistency. This often stems from insufficient clamping force or a poorly designed guide lacking adequate grip. Ensure your knife is securely fastened within the guide, utilizing clamps or rubber grips if possible.
The sharpening surface itself must be stable; place your stone on a non-slip mat. Consider adding rubber feet to your wooden guide for enhanced stability. Applying even pressure during sharpening is also crucial to prevent movement.
If slippage persists, re-evaluate your guide’s design and materials, seeking improvements for a more secure fit.
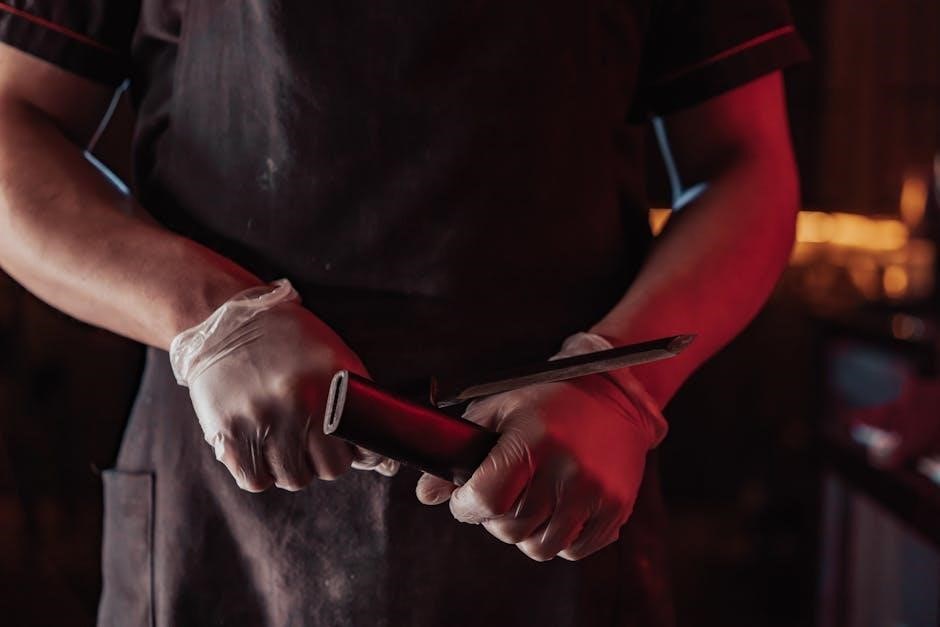
Safety Precautions When Sharpening
Prioritize hand protection with cut-resistant gloves, maintain stone cleanliness, and store sharpened knives securely to prevent accidental injuries.
Always focus and exercise caution!
Protecting Your Hands
Sharpening knives, even with DIY guides, inherently carries a risk of cuts. Your hands are the closest proximity to the blade and the abrasive sharpening stone, making them particularly vulnerable. Investing in a pair of cut-resistant gloves is a small price to pay for significant protection.
These gloves aren’t foolproof, but they provide a crucial barrier against accidental slips. Look for gloves specifically designed for knife handling, offering a good balance of dexterity and protection. Beyond gloves, maintain a firm, stable grip on both the knife and the guide.
Avoid rushing the process; slow, controlled movements are safer than quick, jerky ones. Always be mindful of the blade’s path and keep your fingers clear of the sharpening area. Remember, a moment of inattention can lead to a painful and avoidable injury.
Proper Stone Maintenance
Maintaining your sharpening stone is vital for optimal performance and longevity, regardless of whether you’re using oil or water stones. Water stones require soaking before use to create a slurry, which aids in the sharpening process. Keep the stone surface clean during sharpening by regularly flushing away metal particles.
Oil stones, conversely, need to be lubricated with honing oil. Avoid using water on oil stones, as it can cause them to crumble. After each use, thoroughly clean your stone – water stones can be scrubbed, while oil stones need a solvent.
Allow the stone to air dry completely before storing it. Flattening the stone periodically is crucial to maintain a consistent sharpening surface.
Safe Storage of Sharpened Knives
Newly sharpened knives demand careful storage to preserve their keen edges and prevent accidents. Avoid tossing them loosely into drawers where they can contact other utensils, dulling the blades and posing a safety hazard.
Ideal storage solutions include knife blocks, magnetic strips, or sheaths designed for individual blades. Knife blocks offer protection and organization, while magnetic strips keep knives visible and readily accessible. Sheaths are perfect for portability and added safety.
Always store knives with the blade facing away from the opening to prevent accidental cuts. Regular inspection of storage solutions ensures continued safety and blade protection.