
singer sewing machine owners manual
Welcome to the Singer Sewing Machine Owner’s Manual! This guide provides essential information to help you operate‚ maintain‚ and troubleshoot your sewing machine effectively. Ensure safety‚ understand proper usage‚ and explore its features for optimal performance. Read carefully to maximize your sewing experience and keep your machine in excellent condition.
1.1 Importance of Reading the Manual
Reading the Singer Sewing Machine Owner’s Manual is crucial for safe and effective operation. It provides essential guidelines‚ safety precautions‚ and detailed instructions to ensure proper usage. Understanding the machine’s features‚ functions‚ and maintenance requirements helps prevent accidents and extends its lifespan. Familiarize yourself with troubleshooting tips and warranty information to address common issues promptly. By following the manual‚ you can maximize your sewing experience and maintain your machine in optimal condition. Always refer to it before attempting new techniques or repairs.
1.2 Safety Precautions and Guidelines
Safety is paramount when using your Singer sewing machine. Always keep children away and ensure they are supervised when near the machine. Avoid overheating by not leaving it plugged in for extended periods. Handle sharp objects like needles and scissors with care. Never use the machine if it is damaged or malfunctioning. Keep fingers away from moving parts during operation; Follow all guidelines in this manual to ensure a safe and efficient sewing experience.
Regularly inspect the machine for wear and tear. Store it in a dry‚ secure location to prevent accidental damage. By adhering to these precautions‚ you can enjoy a hassle-free and safe sewing experience with your Singer machine.
1.3 Intended Use of the Sewing Machine
Your Singer sewing machine is designed for household sewing tasks‚ such as repairing clothing‚ crafting‚ and creating home decor items. Use it exclusively for its intended purpose as described in this manual. Avoid using the machine for industrial or heavy-duty applications‚ as this may damage the device or pose safety risks. Always ensure the machine is used in a domestic setting and for tasks it is designed to handle. Refer to the manual for specific guidance on suitable projects and operations.
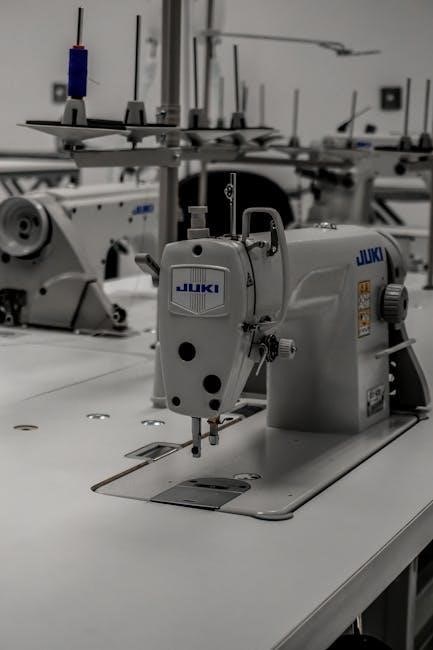
Understanding Your Singer Sewing Machine
Familiarize yourself with your Singer sewing machine’s features‚ controls‚ and accessories to optimize its performance. This section helps you identify key components and understand their functions for smooth operation.
2.1 Key Features and Components
Your Singer sewing machine is designed with innovative features to enhance your sewing experience. Key components include an automatic needle threader‚ adjustable stitch length‚ and a free-arm design for versatile sewing. The machine also features a built-in LED work light‚ multiple presser feet options‚ and an easy-to-use control panel. Additional components like the bobbin winding system and tension dials ensure precise stitching. Understanding these elements will help you utilize the machine’s full potential for various sewing projects‚ from basic repairs to intricate designs.
2.2 Machine Controls and Functions
Familiarize yourself with the machine’s controls to optimize its performance. The stitch selection dial allows you to choose from various stitch patterns‚ while the tension dials adjust thread tightness. The reverse stitch button reinforces seams‚ and the foot pedal controls sewing speed. Additional features include a free-arm lever for accessing hard-to-reach areas and an automatic needle threader for effortless threading. Understanding these controls enables precise stitching and versatile sewing capabilities‚ ensuring your projects are completed efficiently and professionally.
2.3 Accessories Included with the Machine
Your Singer sewing machine comes with essential accessories to enhance your sewing experience. These include multiple presser feet for specialized tasks‚ such as zigzag and zipper sewing‚ along with bobbins‚ extra needles‚ and a seam ripper. The package may also contain a screwdriver for adjustments‚ a spool pin‚ and a dust cover to protect the machine. These accessories ensure versatility and convenience‚ allowing you to tackle various projects with ease and precision‚ from basic repairs to intricate designs.

Setting Up Your Singer Sewing Machine
Proper setup ensures optimal performance. Carefully unpack‚ inspect for damage‚ and place the machine on a stable surface. Plug in the power cord and complete the initial setup as outlined in the manual for smooth operation.
3;1 Unpacking and Initial Inspection
Begin by carefully unpacking your Singer sewing machine‚ ensuring all components are included and undamaged. Inspect the machine for any visible damage or loose parts. Check the power cord‚ presser foot‚ and bobbin for proper condition. Verify that all accessories‚ such as needles and thread spools‚ are present. If any items are missing or damaged‚ contact Singer customer support immediately. This step ensures your machine is ready for safe and proper use. Consult the manual for further setup instructions.
3.2 Placing the Machine on a Stable Surface
Place your Singer sewing machine on a flat‚ sturdy surface‚ such as a sewing table or durable desk. Ensure the surface is level and free from vibrations to maintain smooth operation. Avoid placing the machine near edges or unstable environments to prevent accidental tipping. Keep it away from direct sunlight‚ moisture‚ and extreme temperatures to protect its components. Position it at a comfortable height for easy access and operation‚ ensuring adequate space for fabric movement. A stable setup enhances performance and longevity‚ providing optimal sewing conditions.
3.3 Powering On and Initial Setup
Before powering on‚ ensure the machine is placed on a stable surface and all parts are securely attached. Plug the power cord into a grounded electrical outlet. Read the manual thoroughly to understand the controls and settings. Turn on the machine and check that all functions operate smoothly. Familiarize yourself with the stitch selector‚ tension dials‚ and other features. Test the machine with a scrap piece of fabric to ensure proper stitch formation. Keep fingers away from moving parts and ensure children are supervised during use. Do not use the machine if it appears damaged or malfunctioning.
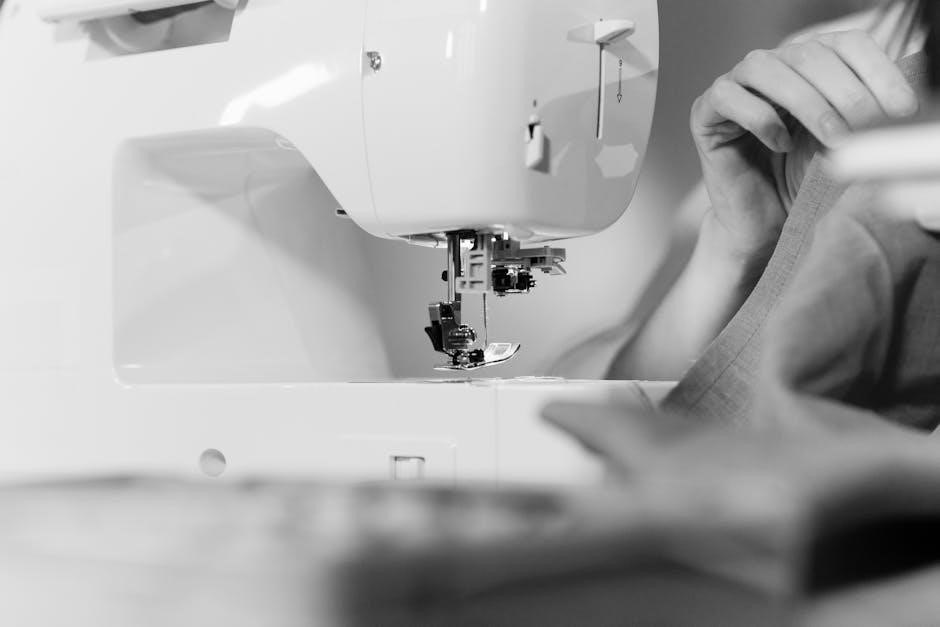
Operating the Singer Sewing Machine
Learn to operate your Singer sewing machine with confidence. Master threading‚ bobbin winding‚ and stitch selection. Follow the manual’s guidance for smooth‚ precise stitching and optimal performance.
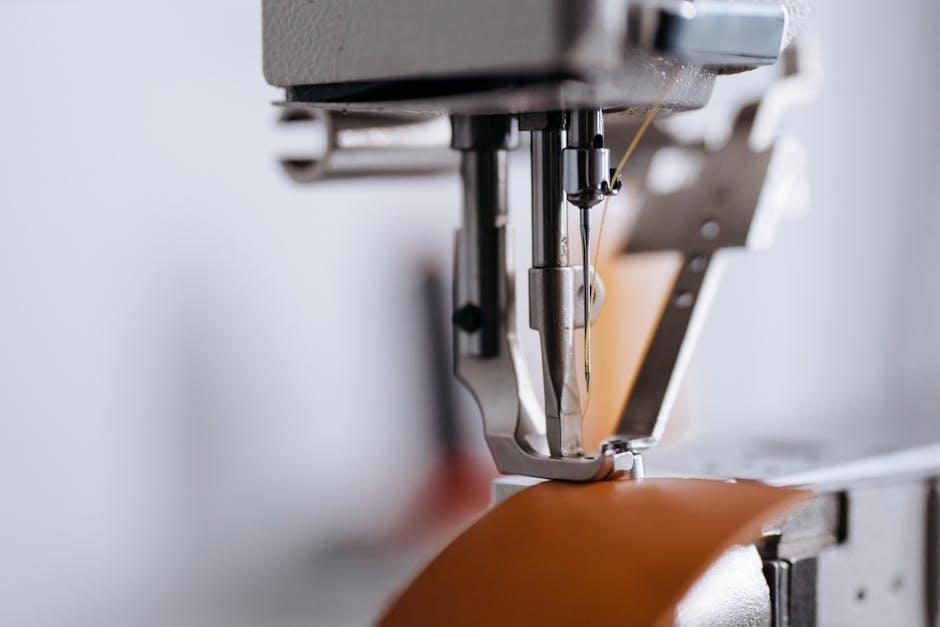
4.1 Threading the Machine
Proper threading is essential for smooth operation. Always use the correct thread type and follow the manual’s threading path. Start by turning the handwheel to raise the take-up lever. Gently pull the thread through the tension discs and guides‚ ensuring it’s seated correctly. Avoid crossing or overlapping threads. Keep the spool cap on the spool pin and draw the thread evenly. If threading at night‚ use good lighting. Never force the thread‚ as this can cause misalignment or breakage. Regularly check tension to prevent uneven stitching. Always refer to the manual for specific threading diagrams and instructions.
4.2 Winding and Inserting the Bobbin
Start by cutting a 12-18 inch thread piece. Place the bobbin on the winder and secure the thread end. Wind slowly‚ keeping the thread taut but not overly tight. Avoid overlapping or twisting. Once full‚ cut the thread and remove the bobbin. Insert the bobbin into the machine’s bobbin case‚ ensuring it clicks into place. Gently pull the thread to seat it properly. Trim excess thread close to the bobbin to prevent loose ends. Always use the correct thread type and follow the manual’s guidelines for optimal performance.
4.3 Selecting Stitches and Stitch Length
Selecting the appropriate stitch type and length is crucial for achieving professional results. Use the stitch selector dial or button to choose from straight‚ zigzag‚ or decorative stitches‚ depending on your fabric and project needs; Adjust the stitch length to ensure proper fabric penetration and seam strength. For delicate fabrics‚ shorter stitch lengths are recommended‚ while thicker materials may require longer stitches. Always refer to the manual for specific settings and guidelines to ensure optimal stitching performance and prevent thread breakage or uneven seams.
Basic Sewing Operations
Master essential sewing skills‚ including starting your first stitch‚ sewing straight lines‚ and backstitching. These fundamental techniques ensure precise‚ secure seams and confidence in your projects.
5.1 Starting Your First Stitch
Begin by placing your fabric under the needle‚ aligning the edge with the seam guide. Lower the presser foot firmly to secure the fabric. Hold the fabric gently but steady. Turn the handwheel to lower the needle into the fabric. Start sewing slowly‚ using the foot pedal. Keep your hands away from moving parts. Ensure the machine is set to a straight stitch for your first attempt. Always supervise children when operating the machine. This will help you achieve a perfect first stitch and build confidence in your sewing skills.
5.2 Sewing Straight Lines and Curves
To sew straight lines‚ align the fabric edge with the seam guide and maintain steady‚ gentle movement. For curves‚ guide the fabric smoothly‚ making subtle adjustments to follow the desired path. Keep fabric taut but not stretched to ensure even stitching. Use the machine’s stitch settings to maintain consistent seam quality. Avoid sudden jerks or pulls‚ as this may cause uneven stitches or fabric distortion. Practice on scrap fabric to master both straight lines and curves before working on your final project.
5.3 Backstitching for Secure Seams
Backstitching is essential for securing seams‚ especially at the beginning and end of your stitching. Start by sewing a few reverse stitches‚ then continue in the forward direction. This ensures strong‚ durable seams. Use the reverse stitch button on your Singer machine to easily create backstitches. Always backstitch when starting or ending seams‚ especially for heavy fabrics or stress points. This step prevents fraying and ensures long-lasting results for your sewing projects.
Advanced Sewing Techniques
Explore advanced sewing techniques to elevate your projects. Discover creative possibilities with specialized stitches‚ presser feet‚ and expert tips for professional results. Master these methods to enhance your sewing skills and create stunning‚ intricate designs effortlessly.
6.1 Using Different Presser Feet
Presser feet are essential for various sewing tasks. The Singer sewing machine comes with multiple feet‚ each designed for specific functions. Use the zigzag foot for general sewing‚ the zipper foot for precise zipper installation‚ and the buttonhole foot for creating perfect buttonholes. For delicate fabrics‚ the teflon foot is ideal‚ while the walking foot handles thick materials effortlessly; Experiment with different presser feet to achieve professional results and expand your sewing capabilities. Always refer to the manual for proper attachment and usage guidelines to ensure optimal performance and avoid damage to your machine or fabric.
6.2 Sewing Buttons and Other Attachments
Singer sewing machines offer convenient features for sewing buttons and other attachments. Use the buttonhole foot to sew buttons securely in place. Align the button under the presser foot‚ lower it‚ and sew in place using a straight stitch or zigzag. For snaps or hooks‚ position them carefully and sew with a reinforced stitch. Always ensure fabric is stable and follow manual guidelines for proper attachment techniques. This feature enhances your sewing projects with professional-looking results and durability.
6.3 Creating Decorative Stitches
Your Singer sewing machine offers a variety of decorative stitches to enhance your projects. Experiment with floral‚ geometric‚ and other patterns to add elegance. Use the stitch selector to choose desired designs and adjust length and width for customization. For intricate details‚ attach the embroidery foot for better control. Follow manual guidelines for threading and tension to ensure smooth stitching. Practice on scrap fabric before applying to final projects for perfect results. Decorative stitches can transform basic fabrics into stunning‚ professional-looking creations.

Maintenance and Care
Regular maintenance ensures your Singer sewing machine operates smoothly and lasts longer. Clean‚ oil‚ and store it properly to preserve performance and extend its lifespan.
7.1 Cleaning the Machine
Regular cleaning is crucial for maintaining your Singer sewing machine’s performance. Use a soft brush to remove lint and debris from the bobbin area‚ feed dogs‚ and stitch plate. Turn the handwheel to access the interior. Avoid harsh chemicals; instead‚ use a dry cloth or compressed air. Clean after each use to prevent dust buildup. Proper cleaning ensures smooth operation and prevents damage. Refer to your manual for specific cleaning instructions tailored to your machine model.
7.2 Oiling the Machine
Regular oiling is essential to keep your Singer sewing machine running smoothly. Use only Singer-recommended oil to lubricate moving parts‚ such as the hook race and shuttle. Apply a few drops to the specified areas‚ as indicated in the manual. Avoid over-oiling‚ as excess can attract dust and cause residue buildup. Oil your machine after thorough cleaning or every 50 hours of use. Proper lubrication ensures optimal performance and prevents mechanical friction. Always refer to your manual for specific oiling instructions tailored to your machine model.
7.3 Storing the Machine Properly
Store your Singer sewing machine in a cool‚ dry place away from direct sunlight and moisture. Use the original hard case or a protective cover to shield it from dust and damage. Ensure the machine is clean and dry before storage to prevent rust or mold. Avoid extreme temperatures and humidity. If storing for an extended period‚ consider re-oiling the machine before use to maintain its performance. Proper storage ensures longevity and keeps your machine in optimal condition for future use.
Troubleshooting Common Issues
Welcome to the troubleshooting section! This guide helps resolve common issues like thread breakage‚ machine jamming‚ or power problems. Follow step-by-step solutions to ensure smooth operation.
8.1 Machine Not Turning On
If your Singer sewing machine won’t turn on‚ first check the power cord connection. Ensure it’s securely plugged into both the machine and a functioning outlet. Verify the outlet by testing it with another appliance. If the issue persists‚ inspect the power switch for any obstructions or damage. Consult the manual for guidance on resetting the machine or replacing fuses. If the problem remains unresolved‚ contact Singer customer support or visit an authorized service center for professional assistance.
8.2 Thread Breakage or Tension Issues
Thread breakage or tension issues can disrupt your sewing. Check if the thread is properly threaded through the machine‚ ensuring no knots or tangles. Verify that the tension discs are aligned and not too tight. If the issue persists‚ rethread the machine following the manual’s guide. Use high-quality thread suitable for your fabric type. Avoid over-tightening the bobbin thread‚ as this can cause breakage. If problems continue‚ consult the troubleshooting section or contact Singer support for further assistance.
8.3 Jamming or Skipping Stitches
If your Singer sewing machine jams or skips stitches‚ stop immediately; Check for tangled thread‚ incorrect needle size‚ or improper fabric alignment. Ensure the bobbin is correctly seated and thread tension is balanced. Remove any lint or debris from the machine’s interior. If stitches skip‚ inspect the needle for damage or dullness and replace it if necessary. Always use the appropriate presser foot for your fabric type. Refer to the manual for specific troubleshooting steps or contact Singer support for further assistance to resolve the issue promptly.

Warranty and Support
Your Singer sewing machine is backed by a comprehensive warranty. For details‚ visit the official Singer website or contact their customer support team for assistance and resources.
9.1 Understanding Your Warranty
Understanding your warranty is crucial for protecting your investment. Singer offers comprehensive coverage for parts and labor‚ ensuring your machine is repaired or replaced if defects arise. The warranty period varies by model‚ typically ranging from 1 to 5 years. Register your product online to activate benefits and access support. Keep your receipt as proof of purchase‚ as it is required for warranty claims. Visit Singer’s official website for detailed terms and conditions.
9.2 Contacting Singer Customer Support
For assistance with your Singer sewing machine‚ contact customer support through phone‚ email‚ or live chat. Visit Singer’s official website for contact details and support resources. Representatives are available to help with troubleshooting‚ repairs‚ and warranty inquiries. Additionally‚ Singer provides online FAQs‚ user manuals‚ and a community forum for peer support. Reach out for expert guidance to resolve issues or answer questions about your machine’s operation and maintenance.
9.3 Finding Authorized Service Centers
To locate an authorized Singer service center‚ visit Singer’s official website and use the “Store Locator” or “Service Center” tool. Enter your location or machine model number to find nearby centers. These centers are equipped with trained technicians and genuine Singer parts‚ ensuring quality repairs and maintenance. Using an authorized center preserves your warranty and provides access to exclusive services. For further assistance‚ contact Singer customer support directly for recommendations or additional information to ensure your machine receives authorized care.

Additional Resources
Explore Singer’s official website for downloadable manuals‚ guides‚ and video tutorials. Join online communities and forums for tips and support from experienced users and professionals.
10.1 Downloading the Manual Online
Access the Singer sewing machine manual online by visiting Singer’s official website. You can download the manual as a PDF file‚ ensuring you always have a digital copy. This resource is available in multiple languages‚ including English‚ Spanish‚ and French. The manual covers setup‚ maintenance‚ and troubleshooting‚ making it an essential guide for both new and experienced users. Downloading the manual is free and straightforward‚ providing convenient access to all the information you need to operate your Singer sewing machine effectively.
10.2 Online Communities and Forums
Online communities and forums provide valuable support for Singer sewing machine users. These platforms offer troubleshooting tips‚ project ideas‚ and resources. Engage with experts and enthusiasts to enhance your sewing skills. Many forums are dedicated to Singer machines‚ sharing experiences and solutions; Participating in these communities can help you maximize your machine’s potential and stay updated on the latest sewing trends and techniques. Joining these groups is a great way to connect with fellow sewers and gain insights for optimal machine usage.
10.3 Video Tutorials and Guides
Video tutorials and guides are excellent resources for mastering your Singer sewing machine. These visual aids provide step-by-step instructions for setup‚ maintenance‚ and advanced techniques. Available on platforms like YouTube and the Singer website‚ they cover topics such as threading‚ stitching‚ and troubleshooting. Many tutorials are model-specific‚ ensuring relevance for your machine. Watching these guides can help you understand complex features and improve your sewing skills. They are especially helpful for visual learners and those seeking hands-on guidance to maximize their machine’s capabilities.

Safety Tips for Usage
Always keep children away and avoid overheating. Handle sharp objects carefully. Ensure the machine is unplugged during maintenance. Use only for its intended purpose as described.
11.1 Keeping Children Away
Always supervise children near the sewing machine. Keep them at a safe distance to avoid accidents. Never let them handle sharp objects or moving parts. Ensure the machine is out of reach when not in use. Store accessories securely to prevent mishaps. Unplug the machine during maintenance to eliminate risks. Teach children about the dangers of improper use. A safe environment ensures enjoyable and accident-free sewing experiences for everyone.
11.2 Avoiding Overheating
To prevent overheating‚ avoid continuous operation for extended periods. Ensure the machine is placed in a well-ventilated area‚ away from direct sunlight or heat sources. Regularly clean dust from vents and internal components to maintain proper airflow. Take breaks during prolonged sewing sessions to allow the motor to cool down. If the machine feels hot‚ turn it off immediately and let it rest. Always follow the manufacturer’s guidelines for usage to ensure optimal performance and longevity of your Singer sewing machine.
11.3 Proper Handling of Sharp Objects
Always handle scissors‚ rotary cutters‚ and sewing machine needles with care to avoid injuries. Store sharp objects in a secure‚ out-of-reach location‚ especially if children are present. Use scissors and cutters with a firm grip‚ ensuring they are stored in protective covers when not in use. When handling sewing machine needles‚ avoid touching the sharp tip and never leave them exposed. Keep your work area organized to prevent accidental contact with sharp tools‚ ensuring a safe sewing environment.