

origami lotus flower instructions pdf
The origami lotus flower is a timeless symbol of beauty and elegance. Its intricate design transforms a simple sheet of paper into a stunning work of art. Creating it is a therapeutic process, teaching patience and dedication. With a PDF guide, anyone can master this traditional craft, from beginners to seasoned origami enthusiasts.
1.1 What is an Origami Lotus Flower?
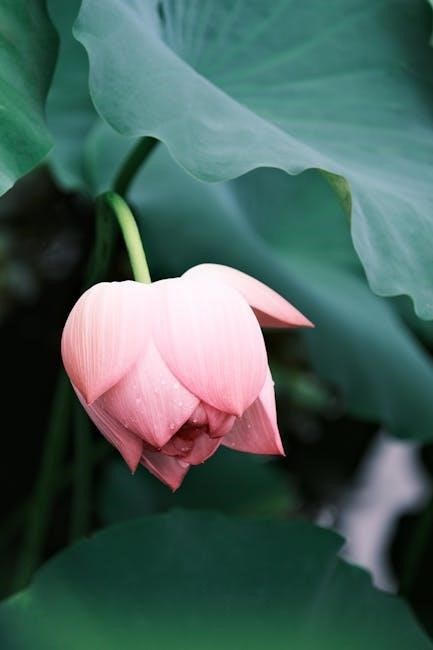
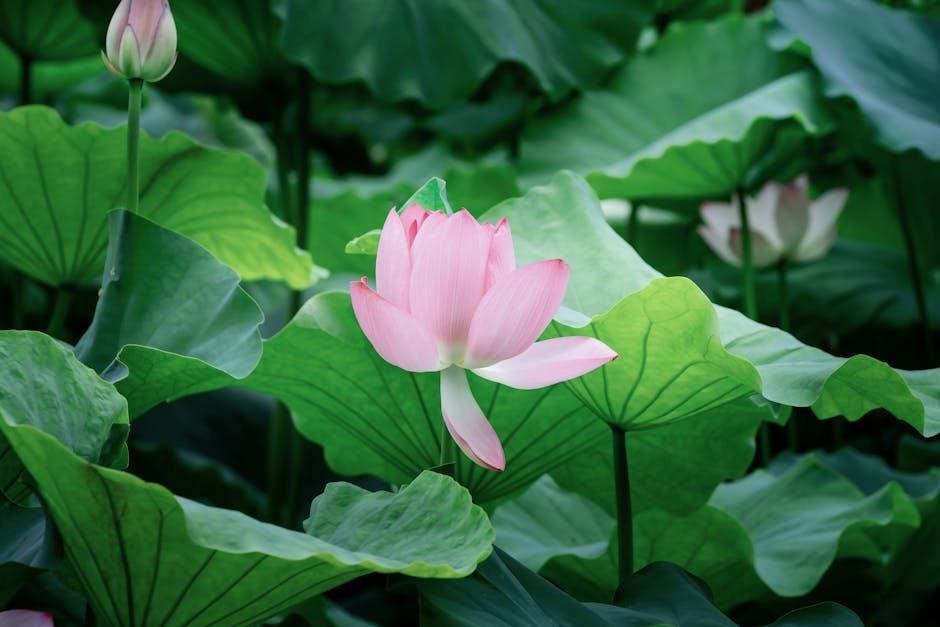
An origami lotus flower is a traditional paper folding model that represents the sacred lotus, symbolizing purity, rebirth, and spiritual growth. It is crafted from a single square sheet of paper through precise folding techniques. Unlike other origami flowers, the lotus is unique for its layered petals and central cavity, resembling the actual flower. The process involves creating a base structure and systematically forming petals, resulting in a delicate, lifelike design. Its intricate beauty makes it a popular choice for origami enthusiasts and a meaningful gift or decoration.
1.2 Popularity and Cultural Significance
The origami lotus flower holds profound cultural and symbolic meaning, especially in Asian traditions, representing purity, rebirth, and spiritual enlightenment. Its popularity stems from its beauty and the meditative process of creation. Often used in rituals and celebrations, it embodies growth and resilience. The lotus’s timeless appeal has made it a favorite among origami artists worldwide, transcending cultures and inspiring countless adaptations. Its elegance and significance continue to captivate audiences, making it a cherished symbol in both traditional and modern contexts.
Materials and Tools Needed
To create an origami lotus flower, you’ll need a square sheet of paper, preferably with a smooth side up. Tools like a flat surface, a bone folder or similar object for crisp folds, scissors for trimming (if needed), and a PDF guide for step-by-step instructions are essential. These materials ensure precision and ease in crafting the delicate design.
2.1 Type of Paper Recommended
For an origami lotus flower, a square sheet of paper is essential. The ideal choice is high-quality origami paper, such as kami or chiyogami, with a smooth side up. The paper size typically ranges from 6×6 inches for intricate details to larger sizes for easier handling. Color options vary, allowing for personalized aesthetics. Avoid thin or overly thick paper, as they may not hold creases well or fold cleanly. Using the right paper ensures crisp folds and a professional finish. Follow a PDF guide to select the perfect paper for your skill level and desired design complexity.
2.2 Size and Color Options
The origami lotus flower can be crafted using paper of various sizes, with 6×6 inches being ideal for intricate designs. Larger sheets, such as 8×8 inches, are easier to handle for beginners. Color options are vast, allowing for personalized creations. White paper offers a classic look, while colored or patterned paper adds vibrancy. Dual-sided paper provides contrast, enhancing the flower’s layers. Choose a size and color that match your skill level and desired aesthetic. A PDF guide often includes recommendations for optimal size and color combinations to achieve a professional finish.
Step-by-Step Folding Guide
Begin with the paper white side up, folding corners into the center twice to form a smaller square. Create creases, then unfold to prepare for petal formation.
3.1 Initial Folds and Preparing the Paper
Begin by placing the paper white side up. Fold it in half diagonally, then unfold to create a crease. Repeat this process for the other diagonal. Next, fold each corner into the center, ensuring the edges align precisely. This creates a smaller square and establishes the foundation for the lotus. Gently fold the paper in half vertically and horizontally, forming additional creases. These initial folds are crucial for achieving symmetry and balance. Use a bone folder to sharpen the creases if needed. Handle the paper carefully to avoid tears during these preparatory steps;
3.2 Creating the Base Structure
Start by folding the paper into a smaller square using the creases from the initial folds. Perform a Blintz fold by bringing each corner to the center, creating a smaller square with triangular flaps. Fold the top right and left corners down to the center, forming a diamond shape. Repeat this with the bottom corners, ensuring all edges align. Next, lift the top layer and fold it back, revealing the base structure. Tuck the sides under the base to secure it. This layered foundation is essential for forming the lotus’s distinctive shape and preparing for petal creation.
3.3 Forming the Petals
Begin by folding the triangular flaps created in the base structure. Fold each flap diagonally to form a sharp edge, ensuring the corners align precisely; Lift the top layer and fold it back, revealing the petals. Repeat this process for each flap, creating uniform layers. Tuck the edges under the base to secure them. Gently pull the petals outward to form the lotus’s signature bloom. Adjust the layers to ensure symmetry and a natural appearance. This step requires patience, as each petal must be carefully shaped to achieve the desired elegance and balance in the final design.
3.4 Refining the Shape
Once the petals are formed, refine the lotus by adjusting their layers. Gently lift and separate each petal, ensuring they are evenly spaced and aligned. Use your fingers to shape the edges, creating a natural curve. Fold the base slightly inward to secure the structure and enhance stability. For a more realistic look, use a blunt tool to create a subtle curvature in the petals. Finally, flatten the bottom layer to ensure the lotus stands upright. This step requires attention to detail to achieve a balanced and visually appealing flower. Patience and careful adjustment will bring the lotus to life.
3.5 Final Touches and Adjustments
The final step involves refining the lotus to achieve a polished look. Adjust the petals to ensure symmetry and evenness. Lightly press down on the base to flatten it, allowing the flower to stand upright. Use a blunt tool to shape the edges of the petals for a natural curve. Gently pull out any hidden layers to enhance the 3D effect. For a finishing touch, ensure all creases are crisp and sharp. If needed, use a small brush to soften the edges; This step requires patience and attention to detail to bring out the delicate beauty of the lotus. Your masterpiece is now complete!
Downloadable PDF Instructions
Downloadable PDF instructions provide a clear, step-by-step guide for creating an Origami Lotus Flower; They offer detailed visuals and easy-to-follow directions, making the process simple and enjoyable anywhere.
4.1 Benefits of Using a PDF Guide
A PDF guide offers a comprehensive and portable resource for crafting an Origami Lotus Flower. It provides clear, high-quality images and step-by-step instructions, ensuring clarity and precision. The format allows users to access the guide anywhere, making it ideal for workshops or personal practice. PDFs are easily printable, enabling a tactile learning experience. They also include tips for common mistakes and variations, catering to both beginners and experienced crafters. This structured approach simplifies the learning process, ensuring a flawless and enjoyable origami journey.
4.2 Where to Find Reliable PDF Tutorials
Reliable PDF tutorials for the origami lotus flower can be found on reputable crafting websites, origami forums, and platforms like Etsy. Official origami communities often share downloadable guides with detailed step-by-step instructions. Websites specializing in traditional origami also offer high-quality PDFs, ensuring accuracy and clarity. Additionally, platforms like iStock provide royalty-free vector illustrations that can aid in understanding complex folds. When selecting a PDF, look for reviews or ratings to ensure the guide is user-friendly and comprehensive, offering both written and visual instructions for a seamless learning experience.
Tips for Beginners
Start with larger paper for easier handling. Practice basic folds first, like the blintz fold. Use a PDF guide for clear visuals and step-by-step instructions. Be patient!

5.1 Common Mistakes to Avoid
One common mistake is folding too quickly without creating sharp creases. This can lead to misaligned layers and an uneven shape. Another error is not unfolding properly after initial folds, causing the paper to lose its structure. Additionally, rushing through the petal formation can result in asymmetry. It’s crucial to follow each step meticulously and ensure all folds are precise. Using a PDF guide helps minimize errors by providing clear visuals. Patience and attention to detail are key to achieving a flawless origami lotus flower. Avoiding these mistakes ensures a professional finish. Crease well and unfold carefully.
5.2 Tricks for Achieving the Perfect Fold
To achieve the perfect fold, start with a high-quality square paper that holds creases well. Use a ruler or bone folder to create sharp, defined creases, ensuring accuracy. Fold slowly and deliberately, aligning edges precisely. Practice the “blintz fold” to establish a strong base. For petals, fold and unfold to create layered depth. Use a reference guide or video to visualize complex steps. Lightly tapping folds with a tool can enhance sharpness. Patience is key—each fold builds the foundation for the next. By mastering these techniques, you’ll craft a stunning, professional-grade origami lotus flower with ease and precision.
Variations and Creative Ideas

Explore creative variations by experimenting with colored paper, layering petals, or adding decorative elements like beads. Try unique folding techniques or mix paper textures for a personalized touch.
6.1 Adding Decorative Elements
Enhance your origami lotus with decorative elements like beads, glitters, or rhinestones for the flower’s center. Layering petals with colored paper adds depth and dimension. Try painting or stamping patterns on the paper before folding for a personalized touch. Adding a stem made from green paper or wire completes the look. Experiment with metallic foils or stickers for a shimmering effect. These details transform the lotus into a stunning centerpiece or gift. Ensure decorations are applied carefully to maintain the flower’s delicate shape and folds.
6.2 Experimenting with Different Paper Types
Exploring various paper types can elevate your origami lotus. Traditional kami or washi paper offers durability and a classic feel, while foil-backed paper adds a shimmering effect. Thin, colored papers create delicate petals, perfect for a soft aesthetic. Patterned or textured paper introduces unique visual interest. Experimenting with different weights and finishes allows you to achieve the desired texture and appearance. Heavier papers hold creases better, while lighter ones fold more easily. This experimentation not only enhances creativity but also gives your lotus a personalized touch, making each piece truly one-of-a-kind.
Crafting an origami lotus flower is a rewarding journey, combining artistry and patience. With a PDF guide, you can master this serene symbol, discovering the joy of creating beauty from paper.
7.1 Final Thoughts on Mastering the Origami Lotus
Mastery of the origami lotus requires patience and practice. Each fold, though challenging, contributes to the flower’s elegance. A PDF guide offers clear instructions, making the process accessible. Over time, you’ll refine your technique, creating flawless petals and a balanced structure. The journey is meditative, fostering mindfulness and creativity. Embrace imperfections as part of the learning process, and remember, persistence leads to perfection. The finished lotus is not just a craft—it’s a testament to your dedication and skill.