harbor breeze remote control manual
Harbor Breeze remote controls simplify fan operation, offering intuitive buttons for speed, light, and special modes. The manuals guide battery insertion, pairing, and wall mounting, ensuring seamless integration with models like A25‑TX025, RRTX012, and HCDZ. All instructions are clear!!
Overview of Available Remote Models (A25‑TX025, RRTX012, HCDZ)
Harbor Breeze provides three distinct remote families to match different fan setups. The A25‑TX025 is a handheld controller for fans with integrated lights, featuring separate speed buttons, a light on/off toggle, and a four‑step dimmer. Installation uses a single AA battery, and pairing is done by holding the 0 key for five seconds until the fan’s LED blinks twice, confirming learning. The RRTX012 adds a wall‑mountable bracket, allowing placement at eye level, and includes a turbo button, night‑light mode, and reverse rotation switch for seasonal airflow changes. Its setup mirrors the A25‑TX025 battery and pairing steps, with the added step of securing the bracket with the supplied screws and inserting a CR2032 cell. The HCDZ replacement remote is designed for legacy Harbor Breeze fans such as models 2BB78‑ITL‑F304A, 2BB78‑ITL‑F304C, and 1AQZU‑18018. It retains the same button layout as the A25‑TX025 but incorporates a programmable learning button that stores the remote’s signal in the fan’s built‑in receiver. Users must restore fan power, hold the 0 key for five seconds, watch the fan’s LED flash twice to confirm the learning process promptly. OK
Key Features and Functions
Harbor Breeze remotes pack a robust set of controls that keep fans running smoothly and lights at the right brightness. Each remote offers three fan speed buttons (Low, Medium, High) that send a unique pulse to the fan’s receiver, allowing instant speed changes. The light controls are split into an on/off toggle and a four‑step dimmer (Off, 25%, 50%, 75%) so you can set the mood without a separate lamp. For models that support it, a turbo button delivers a burst of airflow for quick cooling. The night‑light mode keeps a soft glow on the fan’s light panel, ideal for bedrooms or hallways. Seasonal airflow is handled by a reverse switch that flips the fan’s direction, useful for winter heating. All remotes feature a learning button that stores the remote’s signal in the fan’s built‑in receiver; after pairing, the fan’s LED blinks twice to confirm successful learning. The 0 key can reset the remote, and the LED indicator on the remote flashes to show power status and pairing progress. Battery life is long‑lasting, with the A25‑TX025 and RRTX012 using a single AA cell and the HCDZ using a CR2032. The wall‑mountable RRTX012 also includes a bracket for easy installation. These features make the Harbor Breeze remote a versatile and user‑friendly companion for any ceiling fan setup.
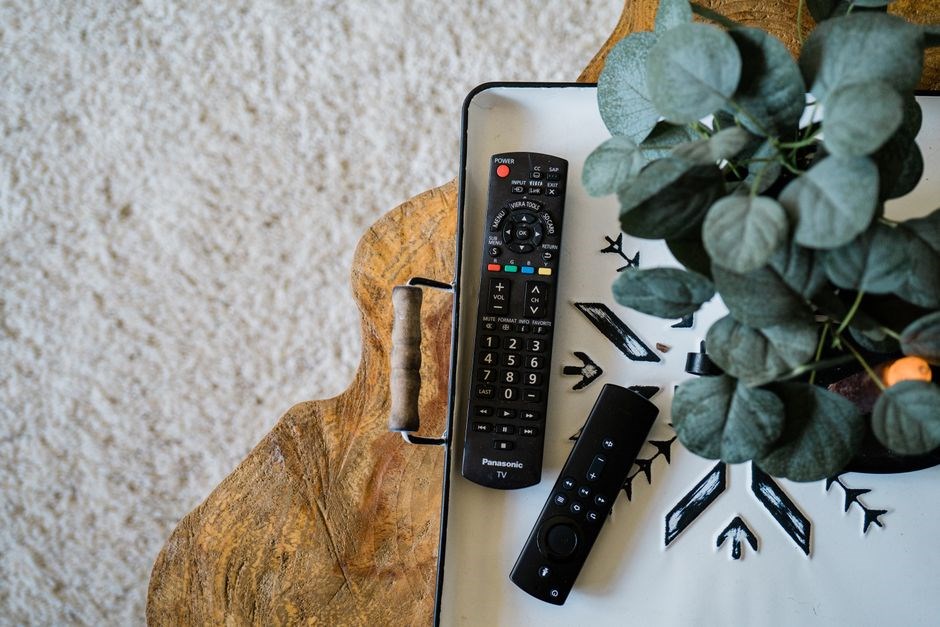
This remote’s design features a matte finish, a button layout, and a LED display that shows battery life, fan speed, and light level enhancing user daily experience.
Getting Started: Installation and Setup
Begin by reviewing the Harbor Breeze manual, ensuring you have the correct remote model for your fan. Keep the fan powered, locate the receiver and verify the remote’s firmware is up to date. Follow the step‑by‑step guide for a softsetup
Battery Installation Procedure
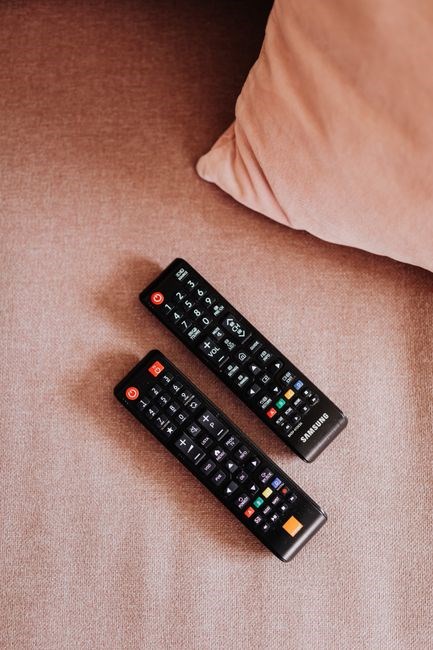
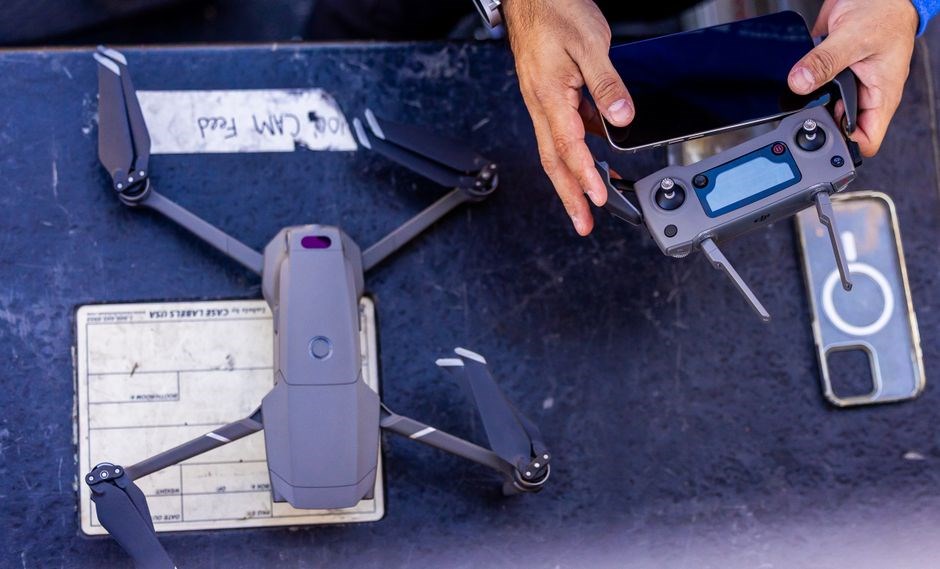
Before you start, gather two AAA batteries (or the specific type indicated in your model’s manual). Open the rear compartment by sliding the latch or pressing the release button. Remove the old batteries carefully to avoid short‑circuits. Insert the new batteries with the correct polarity: the positive (+) side should face the marked (+) slot inside the compartment. Close the cover firmly. Test the remote by pressing the power button; a quick tap should activate the LED indicator. If the LED does not illuminate, double‑check the battery orientation and ensure the contacts are clean. For rechargeable models, follow the charging instructions and avoid overcharging. Proper battery installation ensures reliable operation
When removing batteries, hold the compartment open with one hand and gently pull the batteries out with the other. Inspect the contacts for corrosion or debris; a small brush or a cotton swab lightly dampened with isopropyl alcohol can clean them. After cleaning, dry the contacts thoroughly before reinserting fresh batteries. This step prevents intermittent power loss and prolongs the remote’s life. If you notice any damage to the battery compartment or the remote’s casing, contact Harbor Breeze support before proceeding.
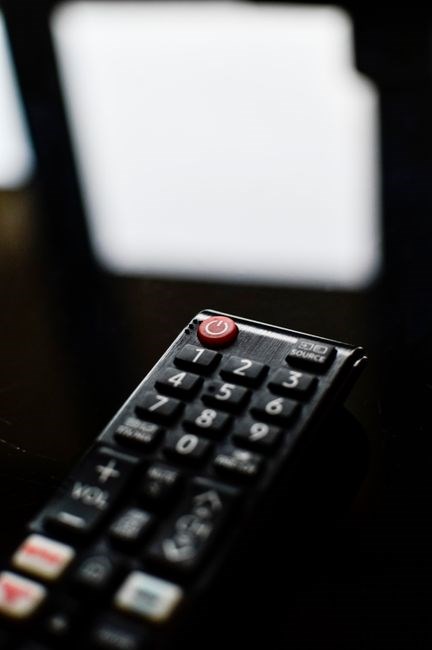
Recycle used batteries per local rules. Store rechargeable ones in a cool, dry place when not used to maintain performance. Keep a spare set ready to avoid downtime
Pairing the Remote with Harbor Breeze Ceiling Fans
To link your remote to the fan, first ensure the fan’s power is on. Then, locate the learning button on the fan’s canopy—often a small recessed button or a labeled “Learn” key. Press and hold this button until the fan’s LED indicator flashes twice, signaling readiness. On the remote, press and hold the 0 key for five seconds; the remote’s LED will blink once, confirming it’s in pairing mode. Within 30 seconds, press the desired fan speed button on the remote. The fan’s LED should flash twice, indicating a successful pairing. Repeat for each speed and light setting you wish to program. If the fan does not respond, reset the remote by pressing 0 again, then repeat the learning sequence. Once all functions are confirmed, the remote will operate independently, allowing you to control speed, light, and special modes from a distance. For models with a built‑in receiver, no additional wiring is required; the fan’s internal circuitry automatically accepts the remote’s signal after pairing. Keep the remote within a 30‑foot range of the fan to maintain a stable connection. If you experience interference, move the fan or remote away from other wireless devices. The pairing process is designed to be quick and user‑friendly, ensuring you enjoy the full convenience of Harbor Breeze’s remote control system. If the LED remains solid after pairing, the remote is synced and ready for use. Some models support dual‑frequency protocols; if pairing fails, verify the fan’s firmware is current!!
Mounting the Remote (Wall Bracket Options)
Mounting the remote on a wall bracket is optional but highly recommended for easy access and a tidy look. The Harbor Breeze manual specifies that the bracket should be attached to a solid stud or a drywall anchor rated for at least 25 lb. Use the included screws and a drill bit that matches the screw size; Position the bracket so the remote’s button panel faces the ceiling fan’s canopy, allowing the user to see the LED indicators during operation. The bracket’s mounting plate should sit at least 18 inches above the floor to keep the remote out of reach of children and pets. Once the bracket is secured, slide the remote into the slot; the rubber gasket on the back of the remote will lock it in place. If you prefer a magnetic mount, the manual notes that a strong neodymium magnet can be affixed to the rear of the remote, but the bracket is the most reliable method for long‑term use. Remote range covers fan sweep fully. If the remote does not respond, double‑check that the bracket is not blocking the remote’s antenna, and ensure the fan’s receiver is correctly powered. For models that include a built‑in receiver, no additional wiring is required; the bracket simply holds the remote in place. Finally, label the remote’s buttons with a small, clear sticker if you wish to identify each function quickly. This simple mounting solution keeps your remote within reach while protecting it from accidental drops or damage, ensuring you can enjoy the full convenience of your Harbor Breeze ceiling fan for years to come.
Use the remote’s buttons to control fan speed, light, and special modes. Press speed to cycle low, medium, high, turbo. Light button toggles lamp; dimmer button dims gradually. Reverse button spins fan counter‑clockwise. LED flashes confirm each function. Press 0 to resetHold 0 for 5s OK!
Fan Speed Selection and Adjustment
Each Harbor Breeze remote offers a dedicated speed button that cycles through four preset fan speeds: low, medium, high, and turbo. To change speeds, simply press the Speed button until the desired level is displayed on the fan’s LED indicator. The LED will flash once for low, twice for medium, three times for high, and a rapid blink for turbo mode. If the fan is not responding, ensure the remote’s batteries are fresh and the receiver is properly wired to the canopy. For models that support reverse rotation, a separate Reverse button toggles the direction; pressing it will cause the fan to spin counter‑clockwise, which can be useful for cooling or circulation. The remote’s 0 key can be used to reset the fan to its default speed setting; hold it for five seconds until the LED blinks twice, confirming a reset. If the fan’s speed does not change after a button press, check for interference from other wireless devices and confirm that the remote is within 30 feet of the fan. The manual advises testing the speed function by turning the fan on, pressing the speed button, and observing the LED response; A successful cycle will show a quick LED flash and a corresponding change in fan speed. If the LED remains steady or the fan does not speed up, replace the batteries and retry. The firmware learns the fan’s speed profile during pairing; once complete, the speed button adjusts the fan speed without extra calibration. now
Lighting Controls and Dimmer Settings
Harbor Breeze remotes feature a dedicated Light button that toggles the fan’s integrated LED strip or attached lamp between off, low, medium, and high brightness levels. Press the Light button once to turn the light on; the LED indicator will flash to confirm activation. Subsequent presses cycle through the brightness settings, with the fan’s LED flashing twice for low, three times for medium, and four times for high. For models equipped with a dimmer, the same button can be held down for 2–3 seconds to enter a continuous dimming mode; the fan will gradually increase or decrease brightness until the button is released, allowing fine‑tuned illumination. If the fan’s light does not respond, verify that the remote’s batteries are fresh and that the receiver is correctly wired into the canopy. The manual recommends testing the dimmer by turning the fan on, pressing the Light button, and observing the LED flash pattern. A successful dimming cycle will show a steady LED glow that changes intensity with each press. If the LED remains steady or the light does not dim, replace the batteries and retry. The remote’s 0 key can reset the lighting to its default setting; hold it for five seconds until the LED blinks twice, confirming a reset. For fans with a separate lamp module, the Light button may control both the fan’s strip and the lamp simultaneously, ensuring consistent lighting across the room. The firmware learns the fan’s lighting profile during pairing; once complete, the Light button adjusts brightness without additional calibration; Finally, if the fan’s light fails to turn on after a reset, check the wiring connections at the canopy and ensure the receiver is powered. The manual advises using a multimeter to confirm voltage at the fan’s LED connector if troubleshooting persists. Additionally, the remote offers a night‑light mode that can be activated by pressing the Light button three times in quick succession; this mode dims the LED to a soft glow suitable for bedtime. The remote’s firmware remembers the last used brightness level, so when the fan is turned on again, it will automatically return to that setting, providing a seamless user experience. Users should consult the fan’s specific model guide for any additional lighting features, such as color‑changing LEDs, which may require separate programming steps. The manual emphasizes that the Light button’s behavior is consistent across all Harbor Breeze models, ensuring that users can rely on the same controls regardless of fan size or design. By following these steps, users can effortlessly manage both fan speed and lighting, creating a comfortable and energy‑efficient environment in any space.
Special Functions (Turbo, Night Light, Reverse)
Harbor Breeze remotes include a Turbo button that temporarily boosts fan speed to the maximum setting for a brief period. Pressing Turbo once activates the high‑speed mode; the LED flashes twice to confirm. Releasing the button returns the fan to the previously selected speed. The Turbo function is useful for quick cooling or to clear dust from the canopy. The Night Light feature is accessed by pressing the Light button three times rapidly; the LED dimmers to a soft amber glow that provides gentle illumination without disturbing sleep. The remote’s firmware stores the last brightness level, so after a power cycle the fan will automatically revert to the night‑light setting if the user has selected it. The Reverse button reverses the fan’s rotation direction; this is particularly helpful for seasonal use. Pressing Reverse once changes the fan to clockwise rotation, while a second press switches it back to counter‑clockwise. An LED indicator flashes once for clockwise and twice for counter‑clockwise to confirm the direction. If the fan does not respond, ensure the receiver is correctly wired and that the remote’s batteries are fresh. The manual advises testing each function after pairing by observing the LED flashes and the fan’s behavior. For models with a built‑in light strip, the Night Light mode dims the strip to 10% brightness; for models with a separate lamp, the lamp dims to a soft glow. The Turbo function is disabled when the fan is in reverse mode to prevent excessive motor load. Users can also combine Turbo with the Light button to achieve a rapid cooling burst while maintaining a dimmed ambiance. The remote’s firmware automatically disables Turbo if the fan’s speed is already at maximum, preventing redundant activation. The Reverse function can be used in conjunction with the Light button to create a subtle airflow around the room while providing nighttime illumination. By mastering these special functions, users can tailor the fan’s performance to their comfort needs throughout the day and night.
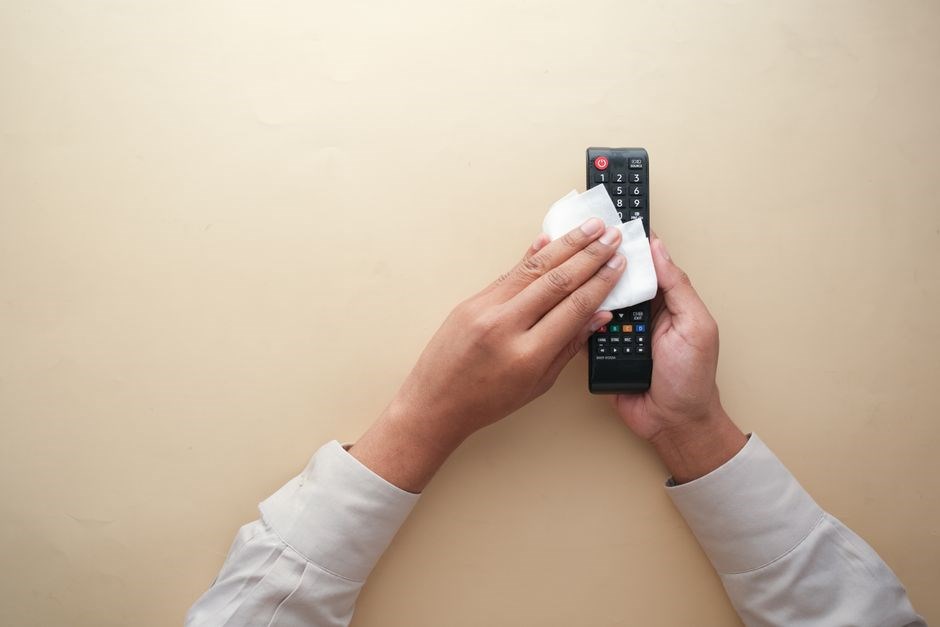
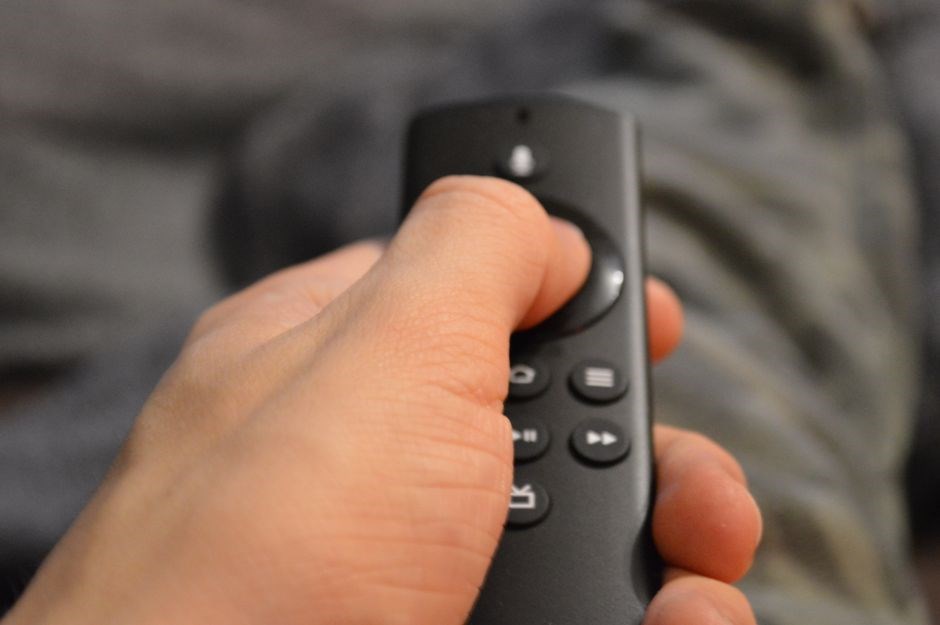
The remote’s ergonomic design includes a soft surface that reduces finger fatigue during prolonged use. Its compact size fits comfortably in hand, and the LED status light provides visual quick feedback. Users should periodically clean the buttons with a dry cloth to maintain responsiveness!
Troubleshooting and Resetting
If the fan stops responding, restore the remote by powering the fan, then press and hold the 0 key for 5 seconds. The remote LED will blink twice, confirming the learning process reset. After release, re‑pair the remote following the pairing steps.
Resetting the Remote (0 Key Procedure)
To reset the Harbor Breeze remote, first ensure the fan’s power is restored. Within 30 seconds of turning the fan back on, press and hold the “0” button on the remote for five seconds or until the fan’s LED indicator blinks twice. The double blink confirms that the remote has entered learning mode and the previous pairing has been cleared. Release the button, then follow the standard pairing sequence: press the “learn” button on the fan canopy, wait for the LED to flash, and then press any remote button to complete the association. If the LED does not blink twice, repeat the 0‑key hold or check that the battery contacts are clean and fully seated. A successful reset will allow the remote to relearn the fan’s functions, restoring full control over speed, light, and special modes. If the remote still fails to communicate, verify that the fan’s receiver is properly wired and that no other wireless devices are interfering on the same frequency. Inspect the remote’s battery compartment for corrosion; replace the batteries with fresh ones if the LED remains dim. For models that include a built‑in night‑light feature, ensure that the night‑light toggle is set to the correct position before attempting another reset. Finally, after a reset, test each button individually to confirm that the fan responds to speed changes, light, and turbo functions as expected. Document any persistent issues and consult the manufacturer’s support portal for troubleshooting steps today.
Learning Process Confirmation and LED Indicators
The learning process for Harbor Breeze remotes is verified through a simple LED indicator sequence. After restoring power to the fan, press and hold the “0” button on the remote, for five seconds or until the fan’s LED flashes twice. A double flash signals that the receiver has entered learning mode and is ready to accept new commands. Once the LED is blinking, press any remote button; the fan’s light should toggle or the speed should change, confirming that the remote has successfully learned the fan’s functions. If the LED does not blink twice, repeat the 0‑key hold or check that the batteries are fresh and seated correctly. The LED remains steady while the remote is idle; a single quick flash indicates a successful button press during learning mode. After learning, the LED will stop flashing and return to its normal steady state, showing that the remote is now fully paired. If any button fails to elicit a response, press the “learn” button on the fan canopy again, wait for the LED to flash, and repeat the pairing steps. This procedure ensures that the remote’s LED indicators provide clear, real‑time feedback throughout the learning cycle, allowing users to troubleshoot and confirm proper operation without additional tools. Remember to keep the remote’s battery compartment clean and replace batteries every 12 months to maintain optimal performance. If the LED does not respond after pairing, consult the fan’s service manual or Breeze for diagnostics